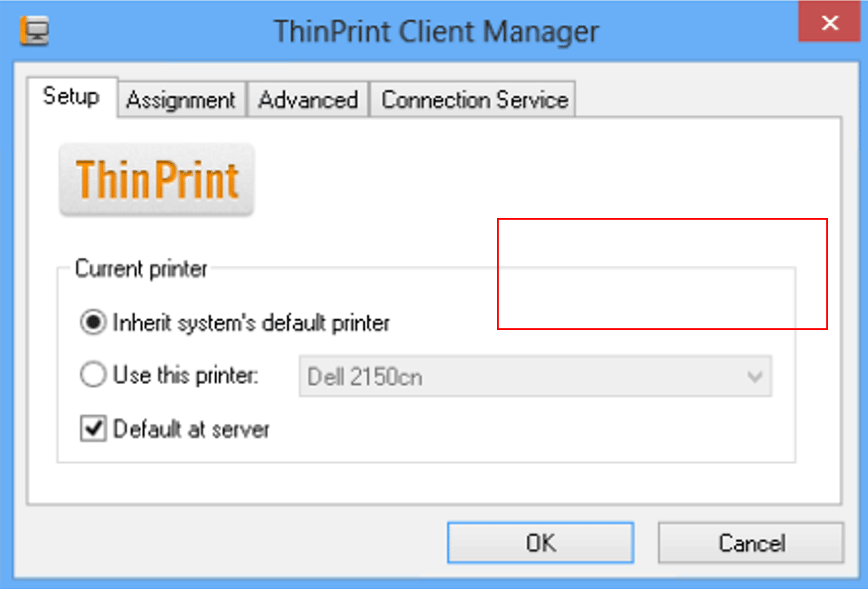
IMPORTANT: This manual will only enable the client side to use Cloudiax Advanced printing. Please get in touch with the Partner Management to get the Cloudiax environment enabled for Advanced printing.
Please download the Thinprint Client to make use of the Cloudiax Advanced Printing function:
https://www.thinprint.com/en/resources-support/software/clientsandtools/
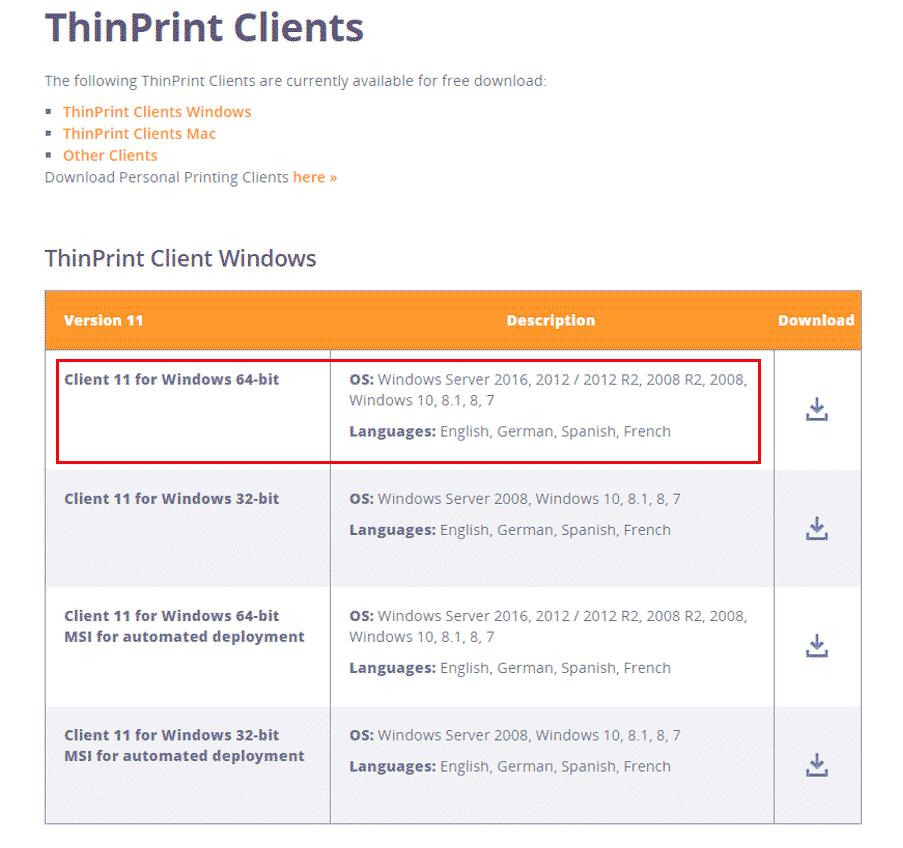
For most Users which run on Windows OS, you will have to download the x64 Client.
You can download a Client for Mac as well.
Once downloaded, you need to unzip the file and look for the Setup_ThinPrintClient_x64.exe which is Located in the “Software Folder”.

You can then start the Setup.exe and you will see this Window:
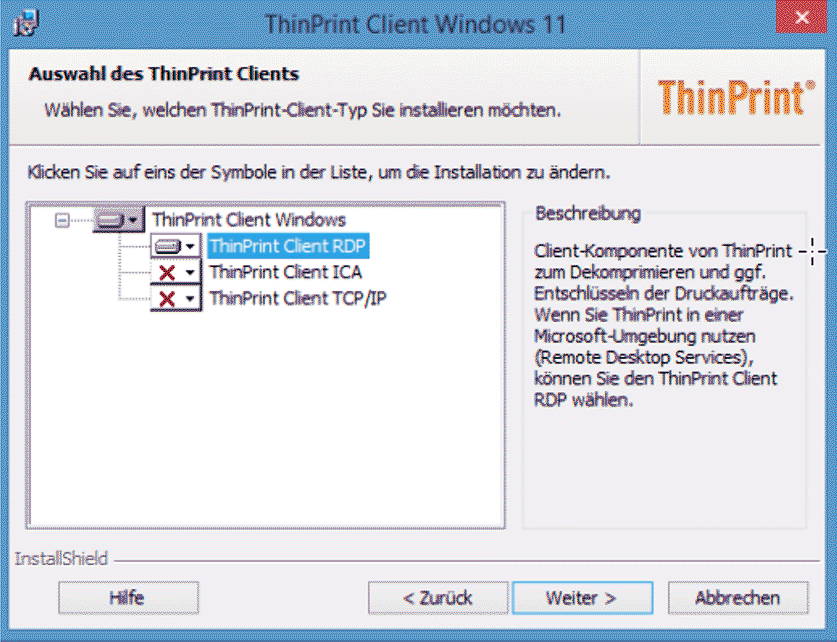
You will have to install the Thinprint Client RDP since you will have to connect to the Cloudiax Servers via RDP (Windows)
Click on “Continue” and then on “Install” and the Client should install itself to the client PC.
Once installed look for the Thinprint Client Windows and start it.
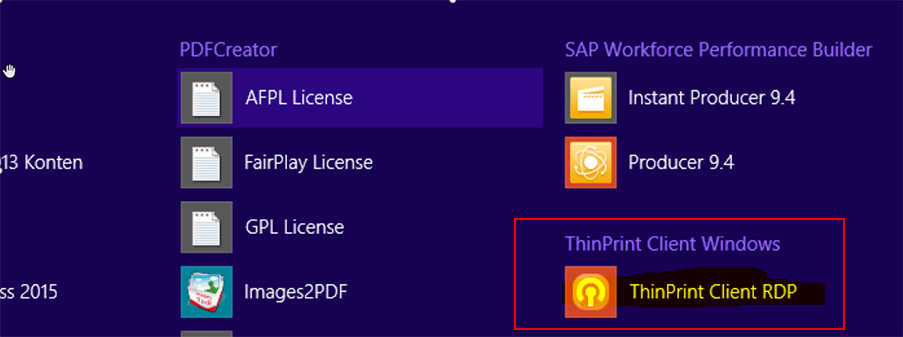
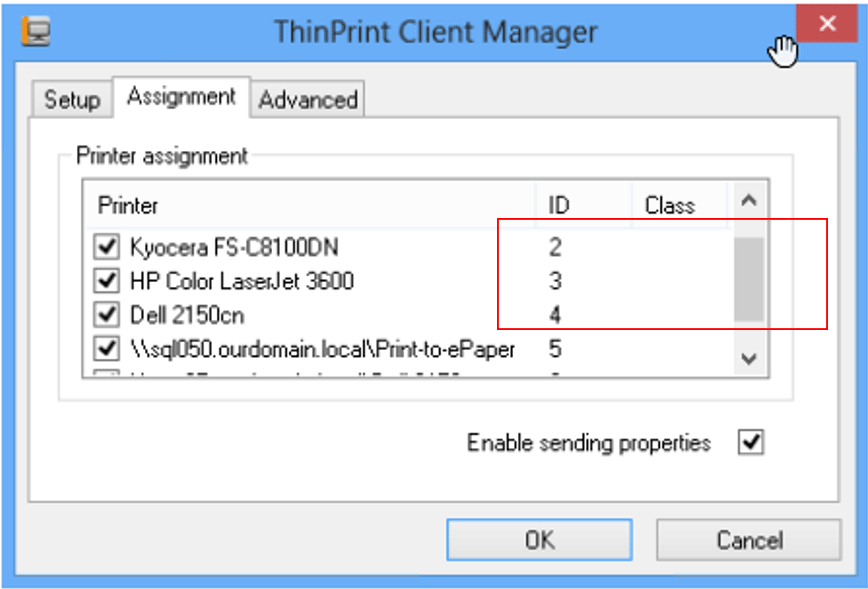
You will get a Window where you can define which Network Printer and local Printer are getting re-directed to the Serve to use the “Thinprint” Printing Driver instead of the usual Microsoft EasyPrint Driver.
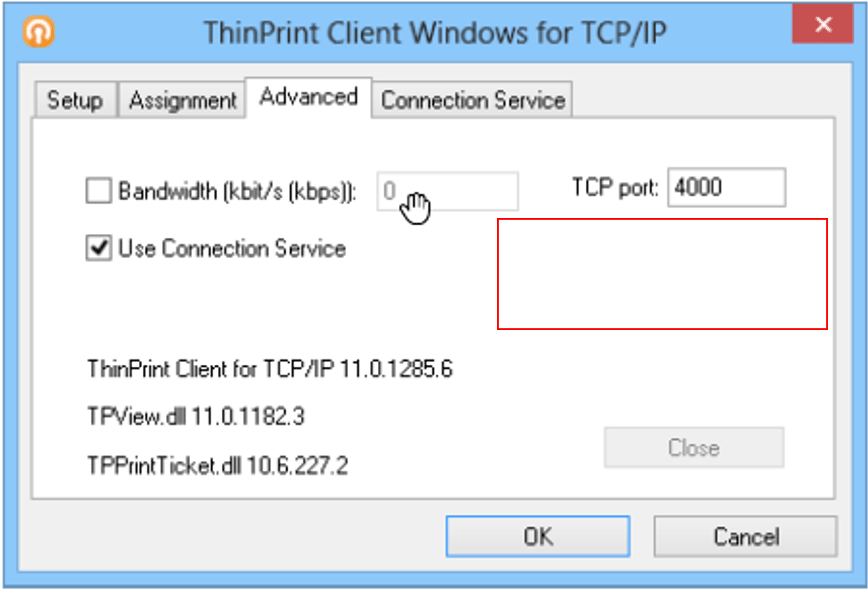
You can also define which maximum of Network Performance will be used for the Printers (in case your office has a bad internet connection)
Keep in mind that this Client has to be installed on every PC that wishes to use Thinprint (Cloudiax Advanced Printing)
After successfully installing the client it is highly recommended to restart the local PC!
After the PC has been restarted, you can go ahead and open an RDP connection.
Once a RDP connection is established, you will see a Thinprint Icon in the Taskbar.
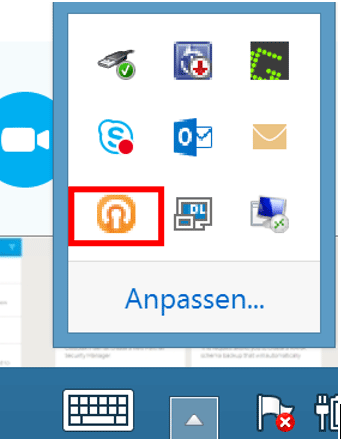
When you click on the ICON, you define which printer should be mapped through to the Remote Session.
You also can define and limit the bandwidth usage of the Thinprint Client.
It is also possible to inherit the system default printer or to select a different printer as standard.
