This article is being updated.
Please check the user manual of the new service portal: https://service-portal.cloudiax.com/login/login-help
1. Change the initial password
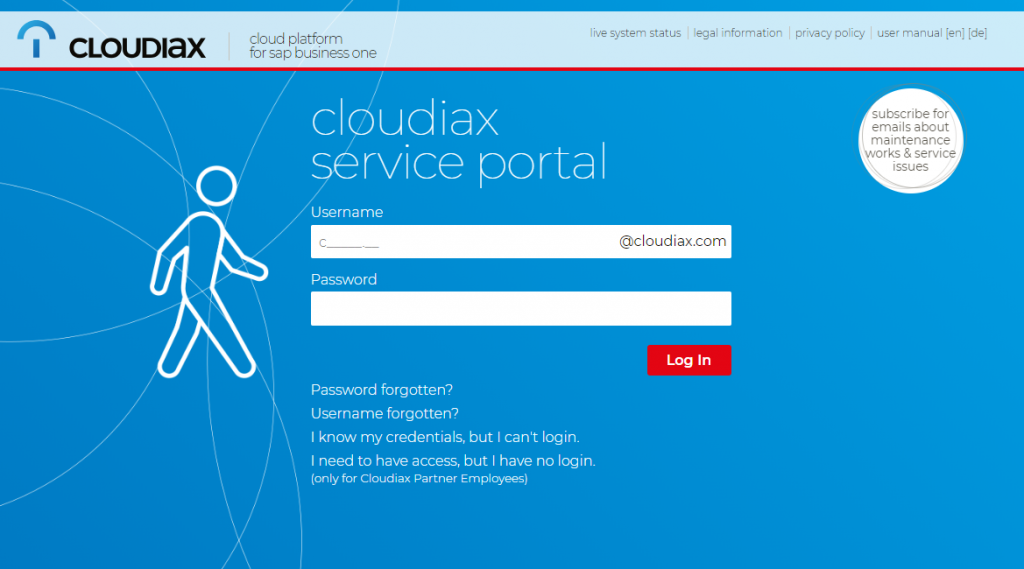
User: cxxxxx.xx
Password: type in your initial password
Click: “Log in”
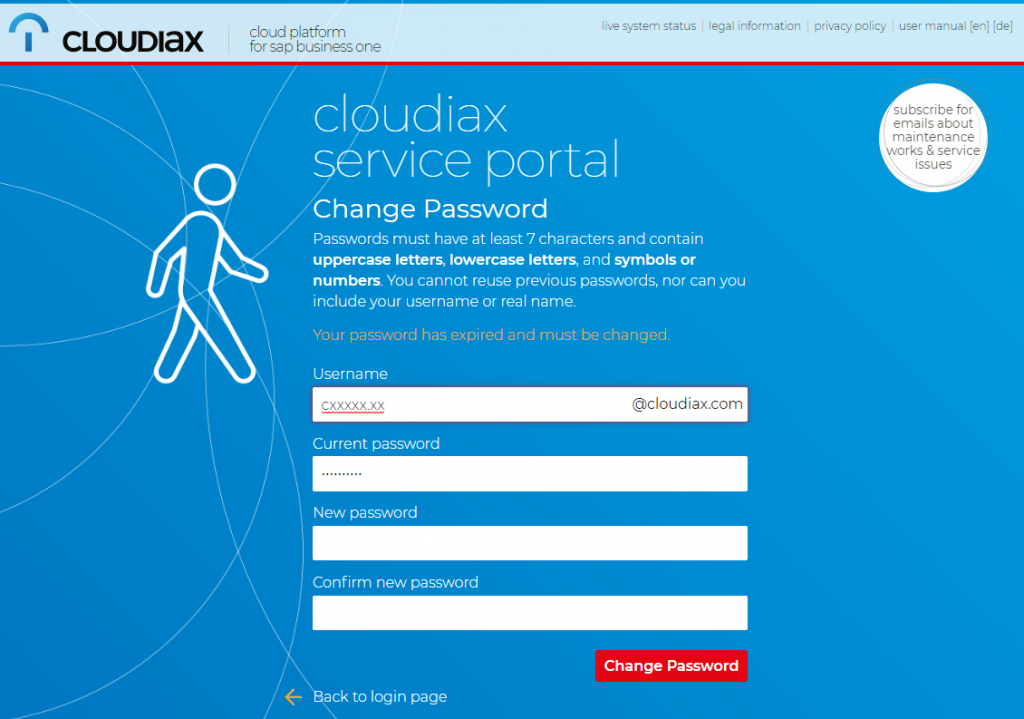
New password: please define a new password
Confirm new password: Please retype your new password
Click: “Change Password”
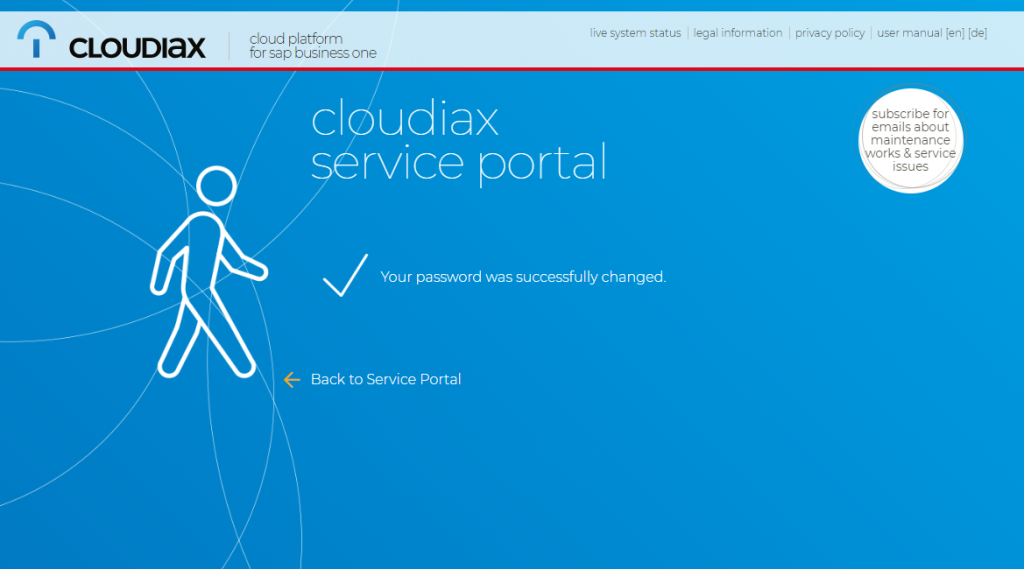
Password changed
2. Login to 2-factor authentication self service
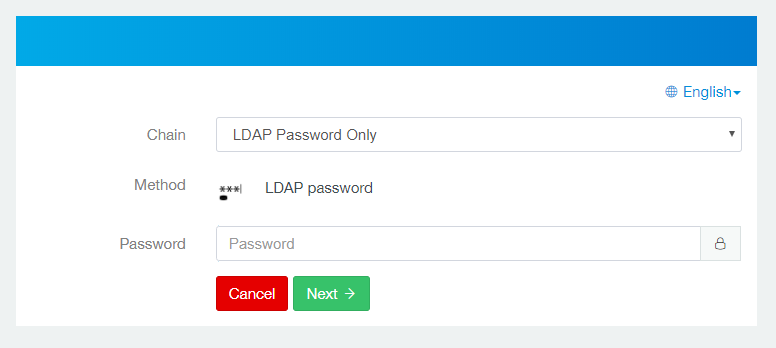
User: cxxxxx.xx
Click “Next”

Please enter your password
Click “Next”
3. Configure your Authenticators
E-Mail (click the icon)
Please add your E-Mail address
Click: “Save”

Smartphone push
Please download the NetIQ Auth App:
Apple App Store (iOS)
https://itunes.apple.com/de/app/netiq-advanced-authentication/id843545585?mt=8
Google Play Store (Android)
https://play.google.com/store/apps/details?id=com.netiq.oathtoken&hl=de
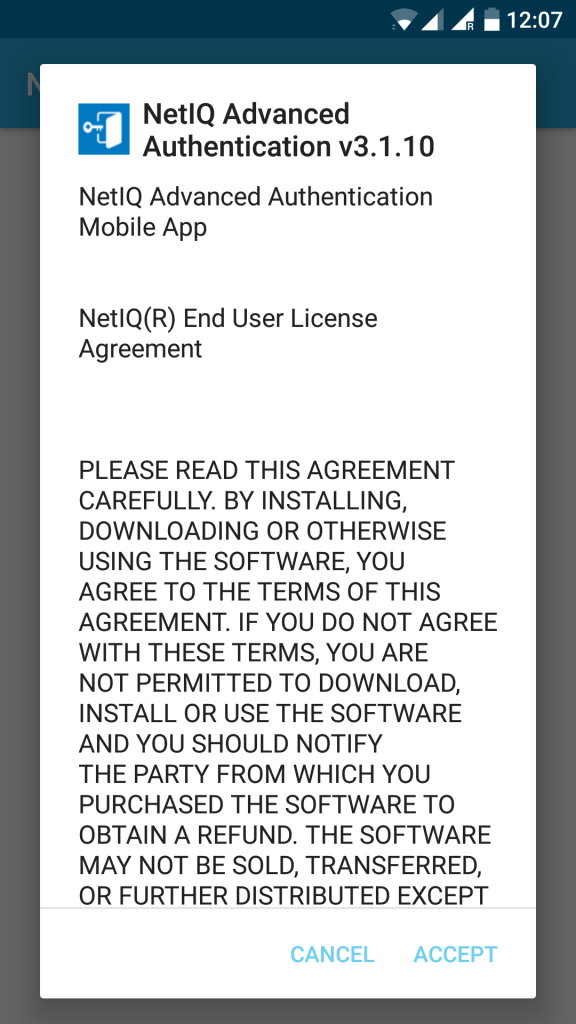
Please start the App and follow this initial steps (example Android).
Accept the license agreement.
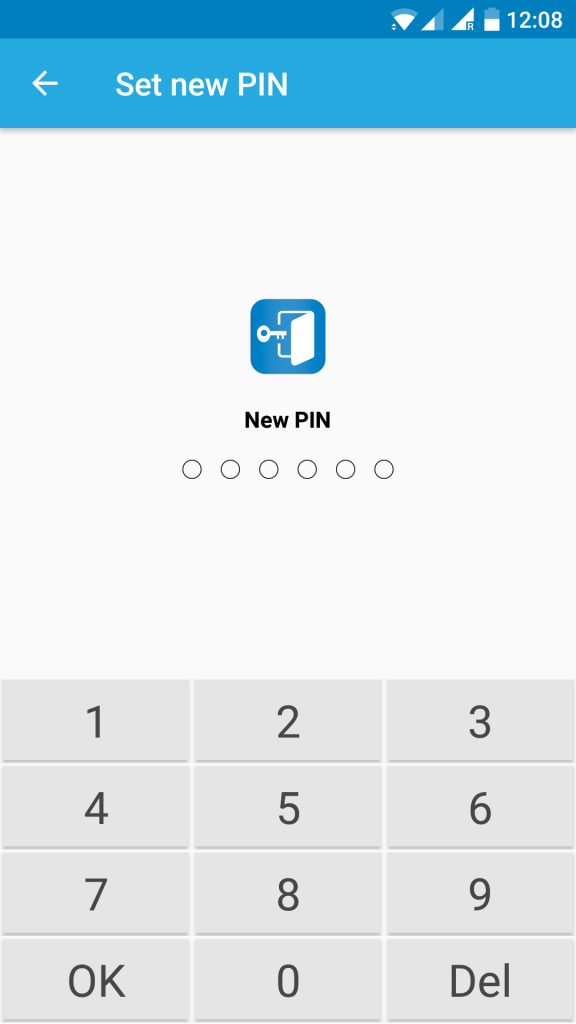
Configure your PIN number
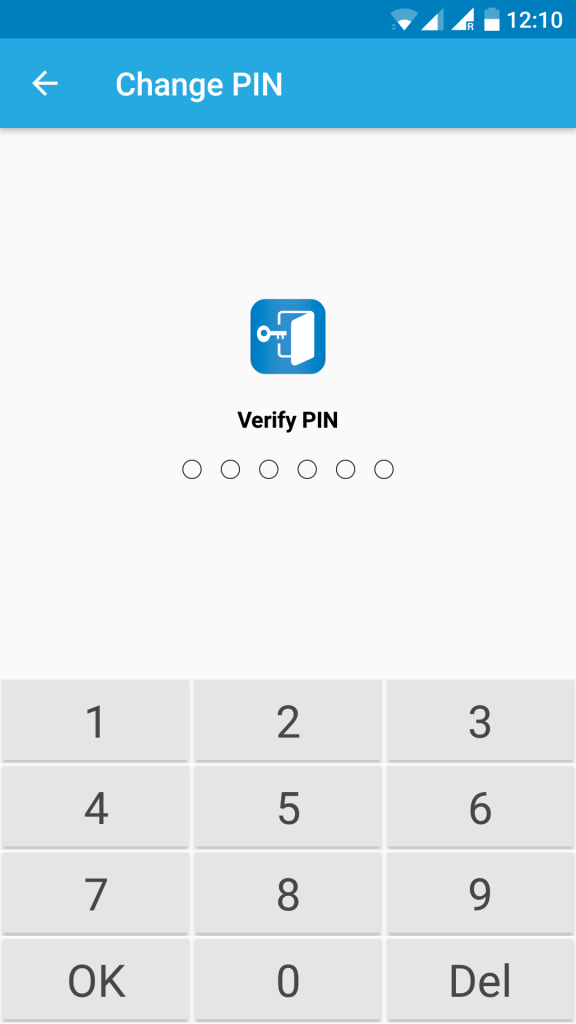
Confirm your PIN number
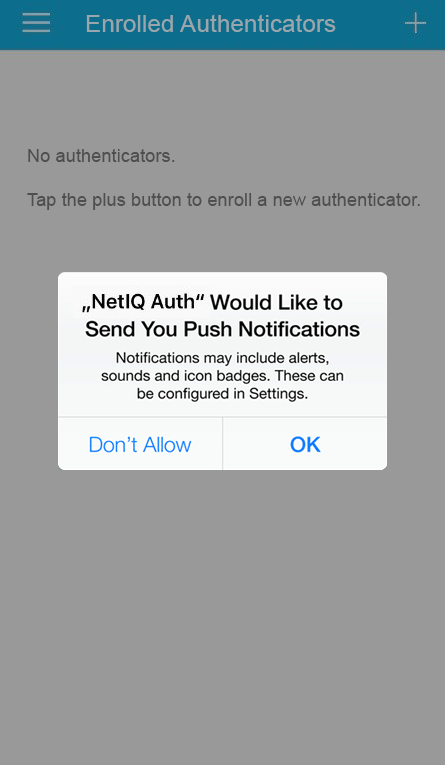
Allow push notifications (recommended)
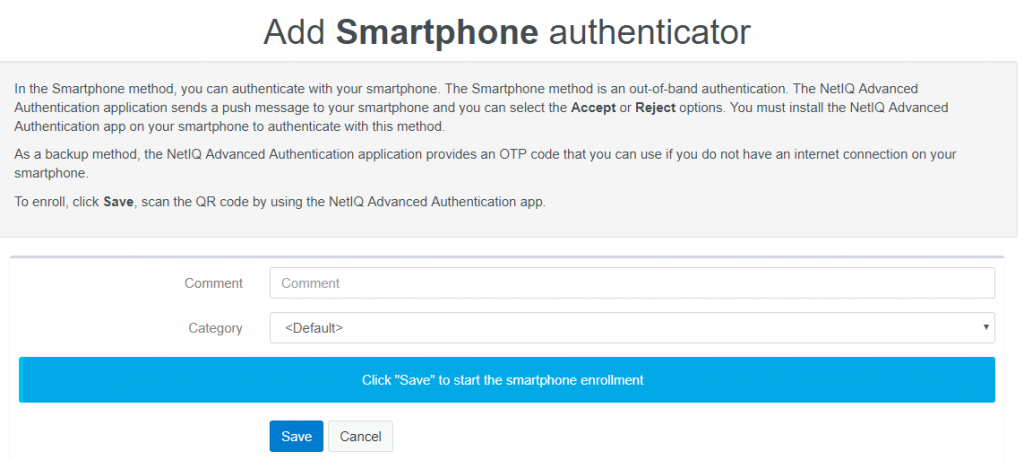
Click on the Smartphone icon on the self service portal
![]()
Add a comment (name) for the authenticator, for example “push”
Click “Save” to start the smartphone enrollment
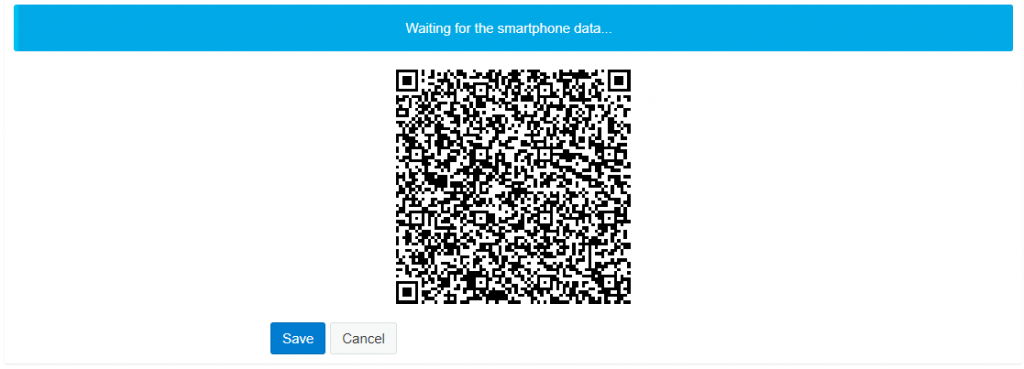
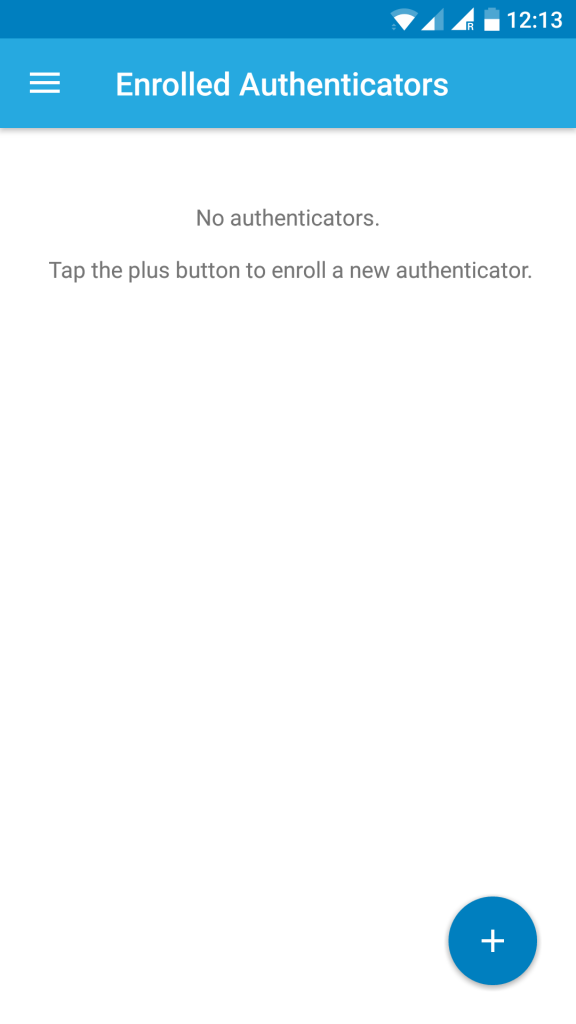
Go back to your smartphone App and press “+”
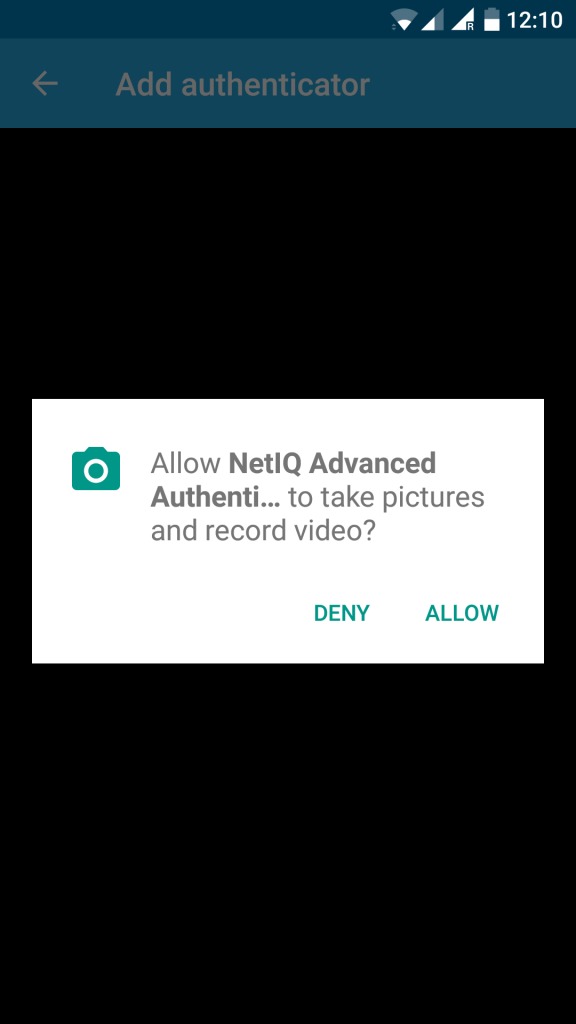
Allow the camera usage and scan the QR code from the self service portal
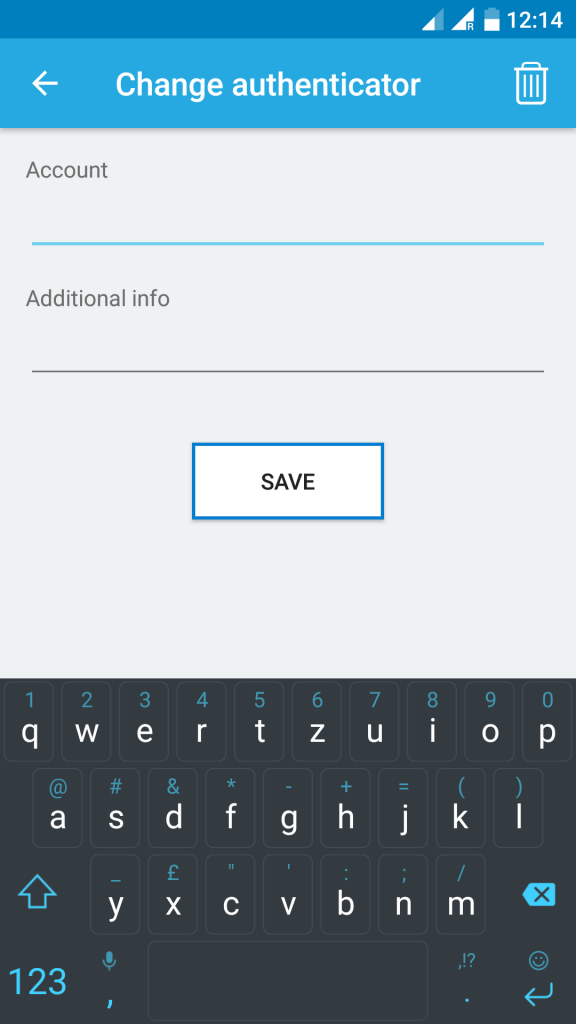
Add your account information: cxxxxx.xx
TOTP (click the icon)
Add a comment, for example “TOTP”
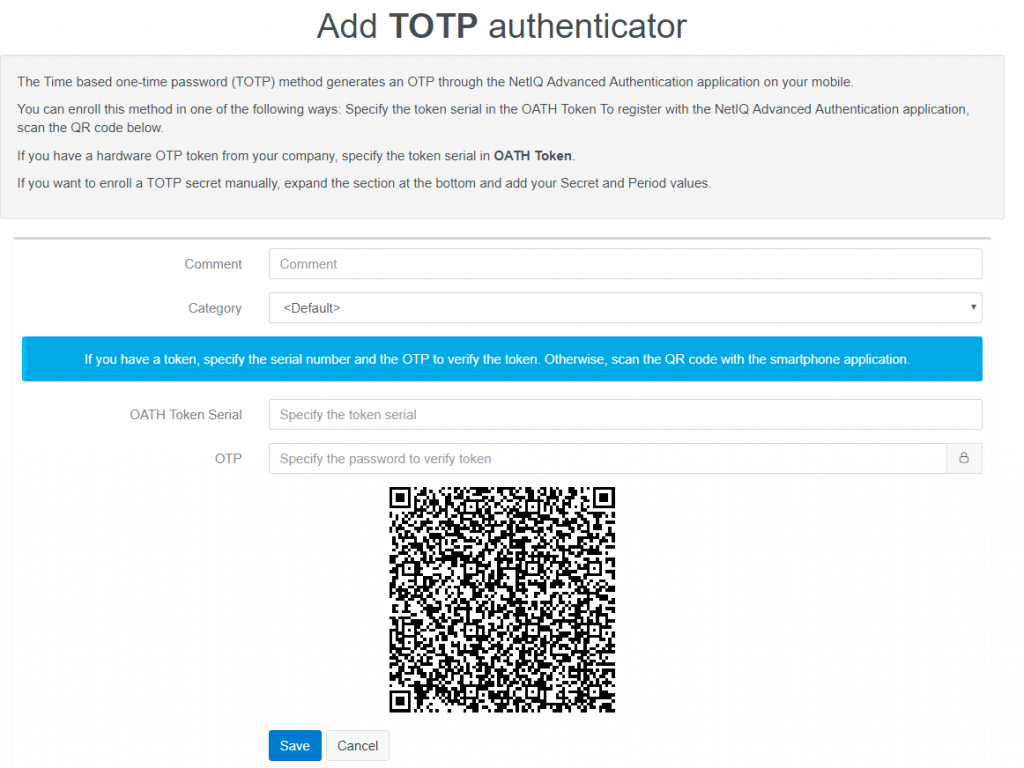
Go back to your smartphone App (as described for “Smartphone)
- Press “+”
- Scan the displayed QR code
- Add your account information: cxxxxx.xx
- Press “next”
You will see both authenticators (push & TOTP) in your App now:
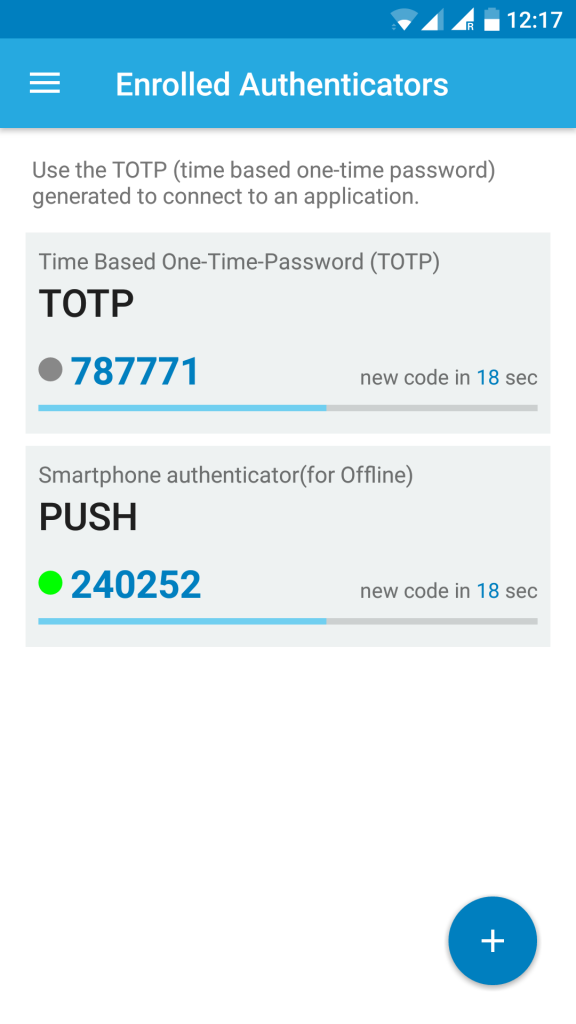
Click “Save” in the self service portal.
Logoff from the self service portal:


